How to Customise and Utilise Branding Options in Mind That
Customisation is an essential aspect of brand identity. Your Mind That account allows several customisation options to integrate logos, colours and images. By incorporating these elements into your account, you can create a unique and cohesive brand image to help you stand out in your industry. This tutorial will help you with theming and white labelling in your Workspace and Account Settings.
Navigating to Branding Settings
To start, log in to your Mind That account. For multiple accounts, make sure to log in to the proper account.
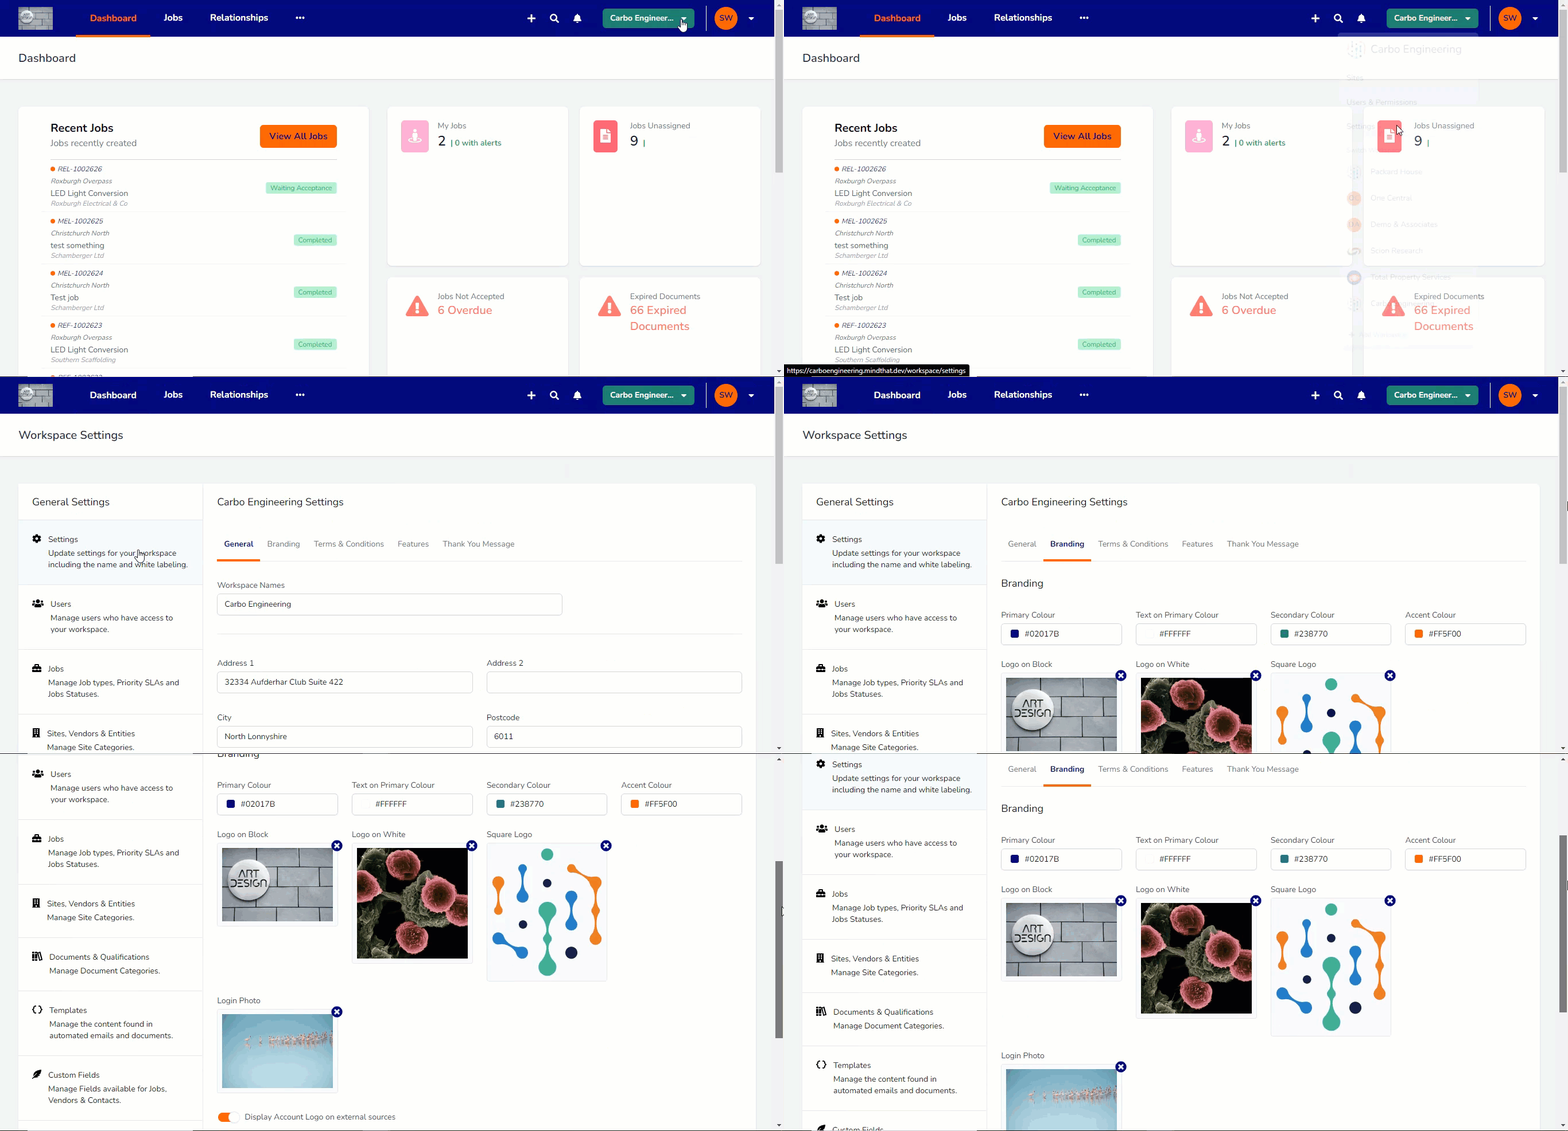
Move your cursor to the Company profile beside the Individual profile and notification bell on the main navigation bar. Click the company profile dropdown button, and a menu will appear.
Click the Settings button to redirect to the Workspace Settings page immediately.
Click the Branding tab.
Branding Settings Customisation
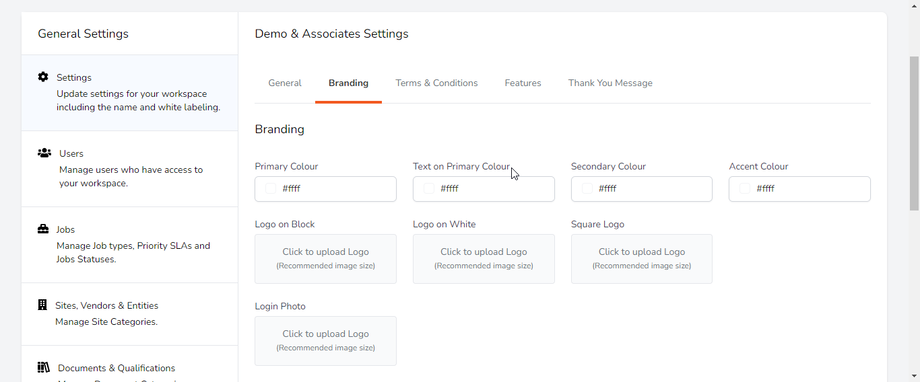
In the branding tab, you can modify the appearance of your workspace. Please note that this feature only allows you to customise colours, images, and logos and does not affect any other aspects of your Mind That account.
Colour
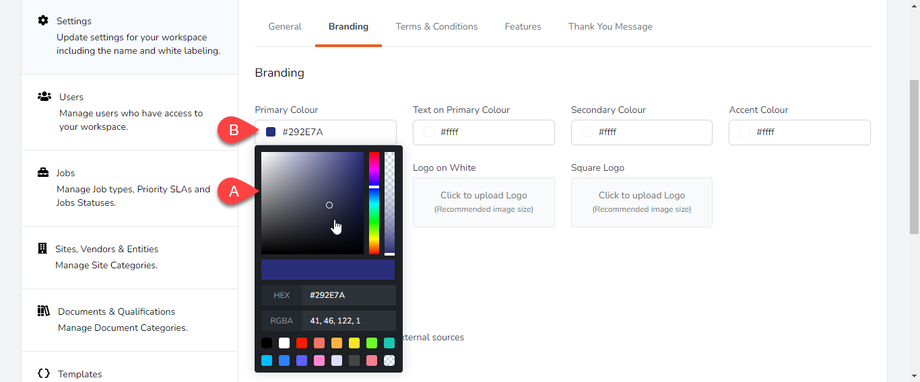
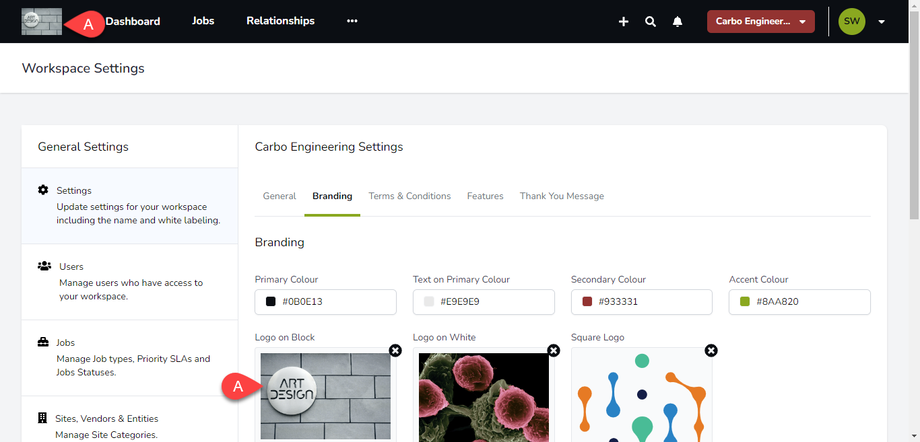
To begin, (a) you can change the primary, secondary and accent colour of your workspace using an RGB and HEX colour picker which you can access by clicking on the designated label field.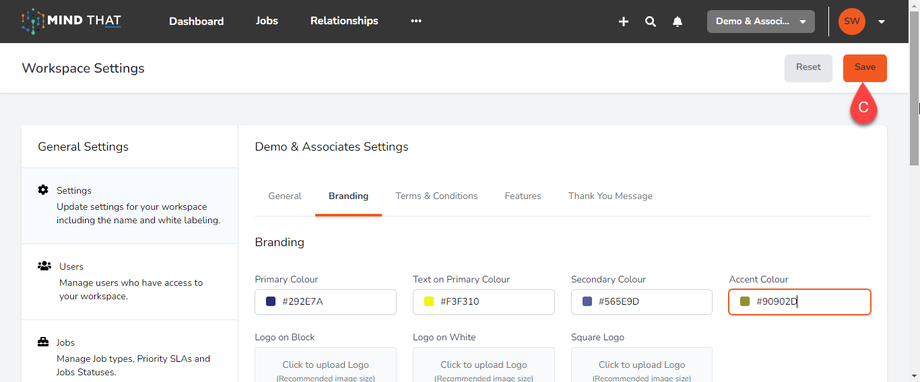
If you know the colour code, you can (b) also type it in the input field. When you’re satisfied with the colours, you can (c) click the Save button on the upper right side of the page.
Sample Colouring
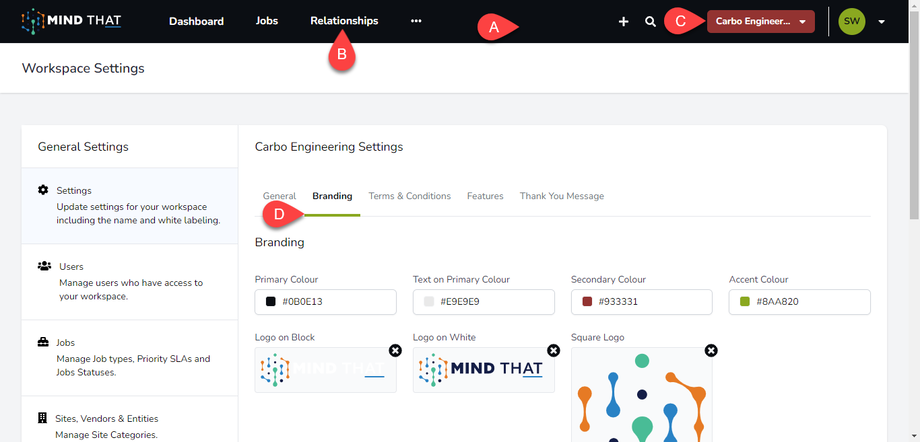
In this example, you can see that we’ve changed most of the colours to reflect a sample branding. The (a) primary colour is black, (b) primary text is white, (c) secondary colour is maroon, and lastly, the (d) accent colour is yellow-green.
Logos and Images
You can (a) change the Logo on Black to your brand logo, which you will see on the main navigation bar.
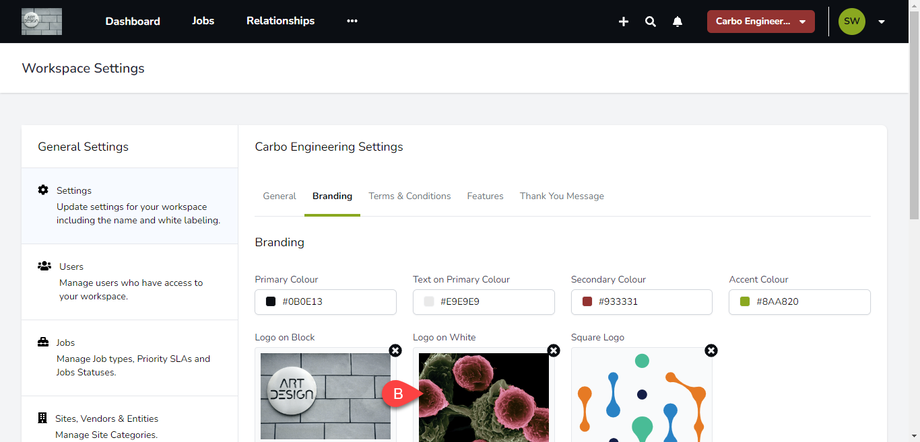
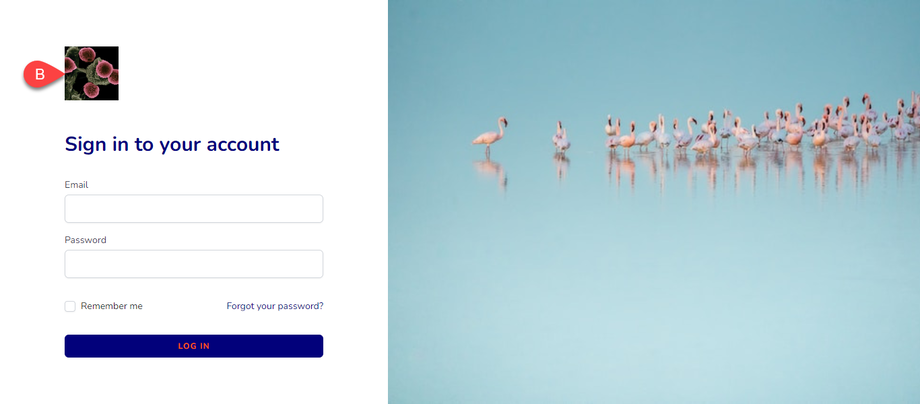
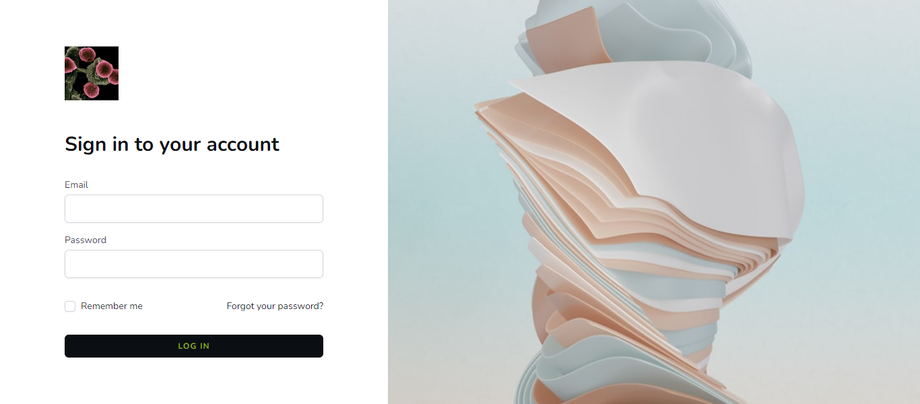
Changing (b) the Logo on White will reflect on the login page, as shown in the example above.
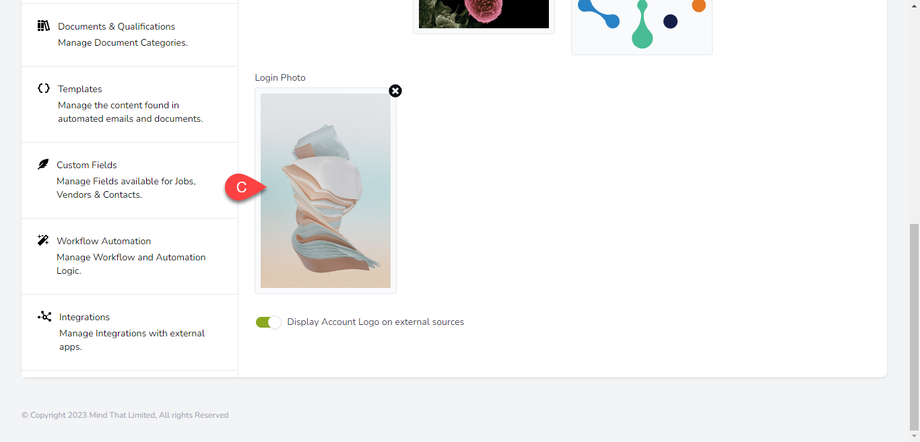
You can also (c) change the login photo. Ensure the “Display Account Logo” button is toggled on to show the image.
Navigating to Account Settings
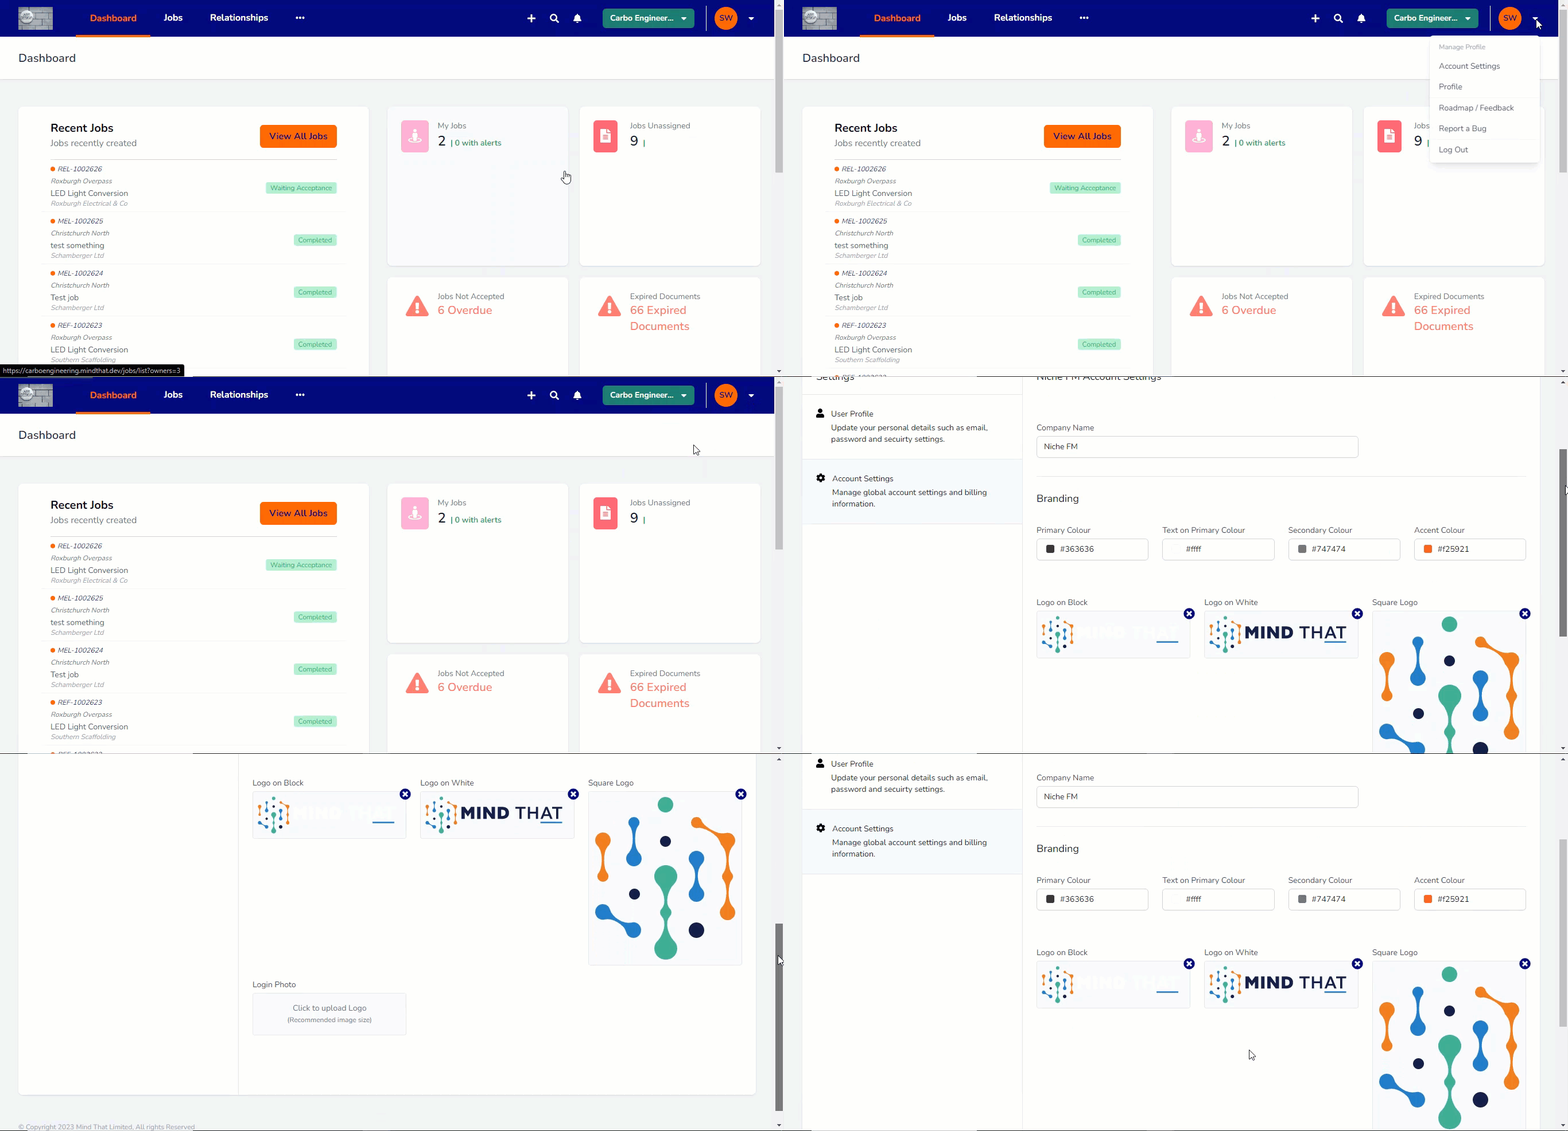
Move your cursor to the Individual profile beside the Company profile at the upper rightmost side on the main navigation bar. Click the individual profile dropdown button, and a menu will appear.
Click Account Settings, and you will redirect to the branding section of your profile.
Account Settings Customisation
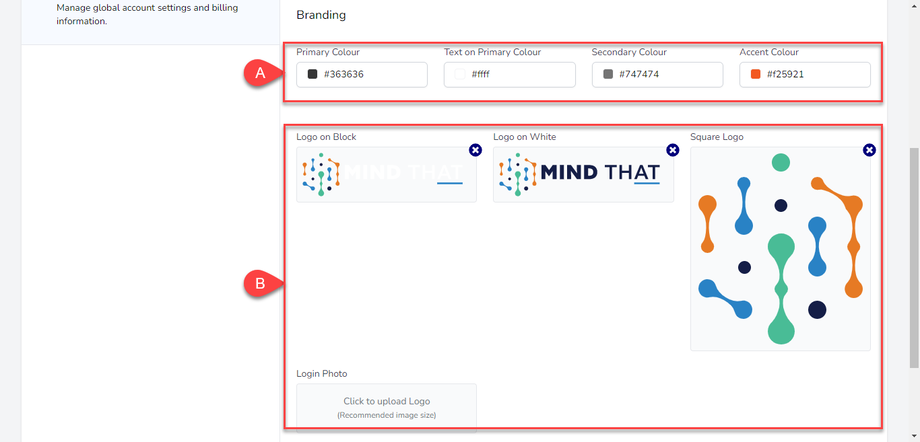
The customisation options between the workspace branding tab and the account settings branding are practically identical. You can (a) change the primary, secondary, accent, and primary text colours.
You can also (b) change the logos and images to your branding.
The account setting brand is the default brand between the workspace and the account setting branding.
When the workspace branding is enabled, it overwrites the account setting brand.
Suppose you have a Mind That account that manages five businesses, meaning you have five different workspaces. If one of the workspaces doesn’t have a custom branding, it will default to the account settings brand.


