How to Include and Inform Hazards for Your Sites
Different Sites or Substations may have specific hazards and reminders that need posting. This is to inform your vendors or entities who will accept the work orders of the dangers they may encounter on the job site. In this tutorial, we’ll guide you through how to add hazards to your Sites which may also influence site inductions. Let’s look at the process below.
How to Navigate to Site Settings
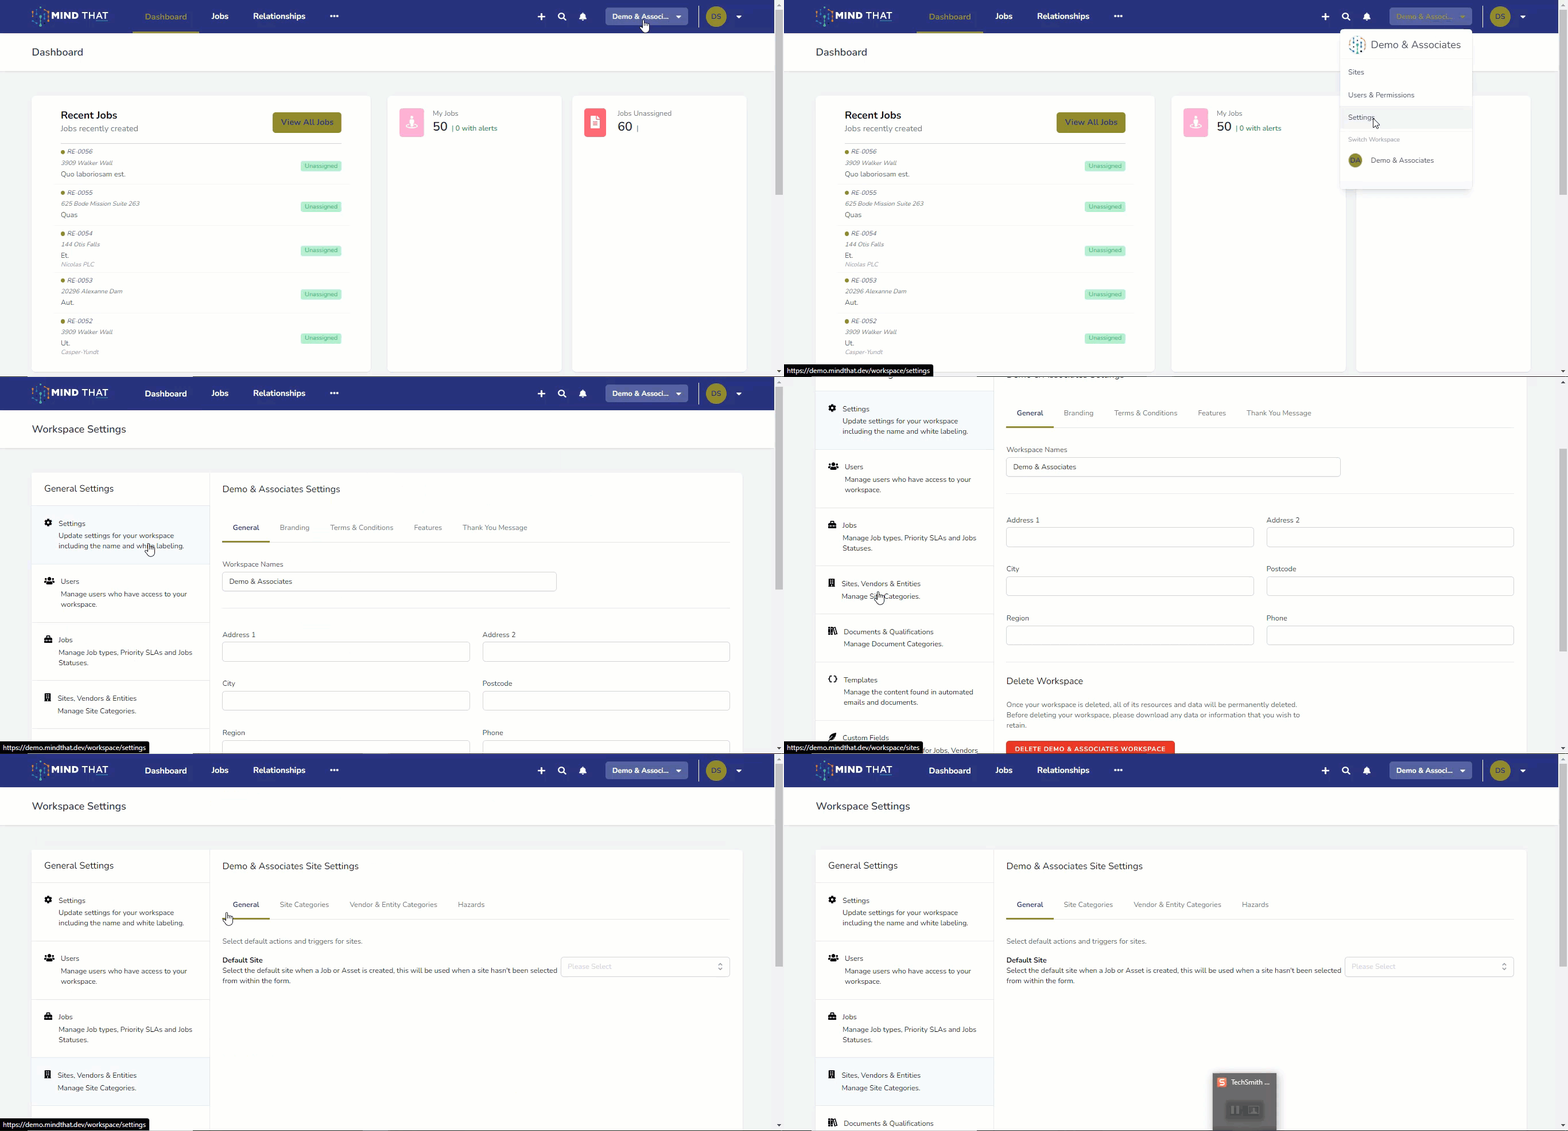
To start, you must log in to your Mind That account. For multiple accounts, make sure to log in to the proper account.
Move your cursor to the Company profile beside the Individual profile and notification bell on the main navigation bar. Click the company profile dropdown button, and a menu will appear.
Click the Settings button to redirect to the Workspace Settings page immediately.
Under General Settings are several customisation options you can choose from and change according to your company’s preference. The options include Settings, Users, Jobs, Sites, Vendors and Entities, and more. We’re going to focus on the Sites, Vendors & Entities section.
Click on the Sites, Vendors & Entities section, and this will redirect you to that section.
Navigating and Adding Hazards
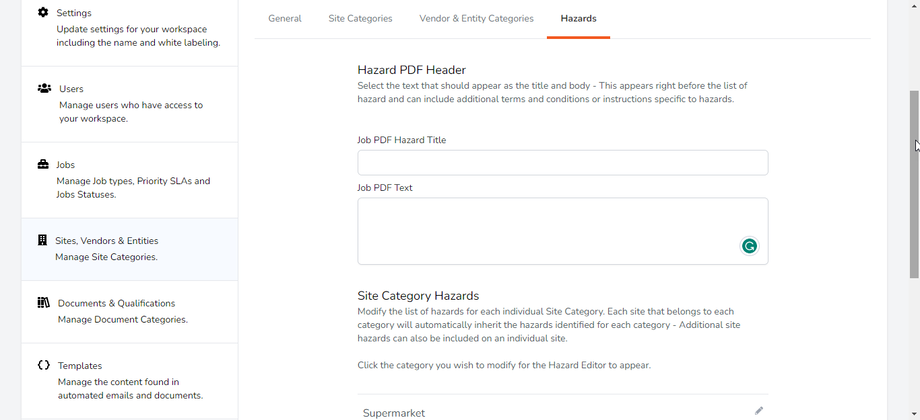
To begin, click on the Hazard tab on the right-most side of the Sites Settings.
The categories listed on the Site Categories will show here. This tab pertains to the hazards found on a particular site. You can create documents about hazards and upload them here. The system will automatically inherit the hazards for a specific category.
Additionally, you can reduce set-up time by adding Global Hazards. This means that instead of setting up hazards for each site, you can set them up for each site category, thus reducing duplication.
It is important to note that different sites will have various hazards, and it’s only intuitive and efficient to add hazards fitting certain categories.
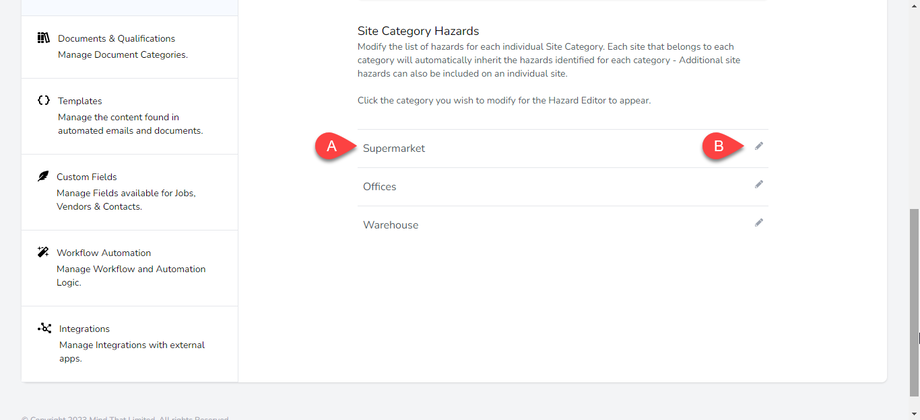
Choose (a) a site category and click (b) on the “Edit” Button. A window will appear and allow you to list the hazards and hazard descriptions for that particular site.
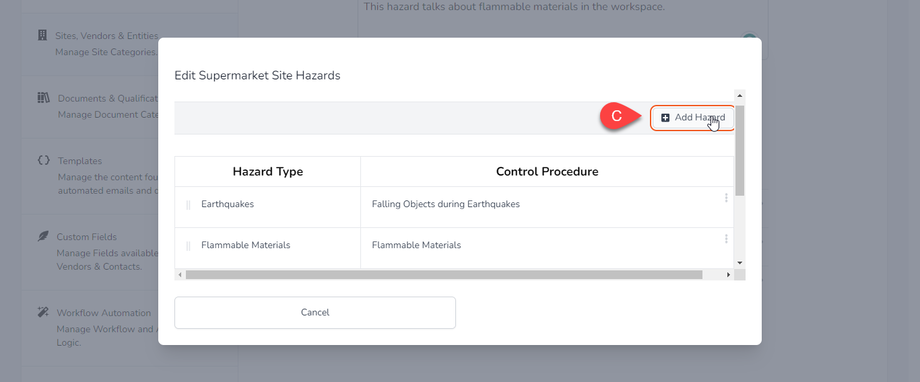
You can click (c) the “Add Hazard” button on the upper right side of the dialogue box to add a new Hazard Type and Control Procedure to the list. Please note that the system will add new hazards at the bottom of the list, so ensure to scroll down the list to find the new hazard type.
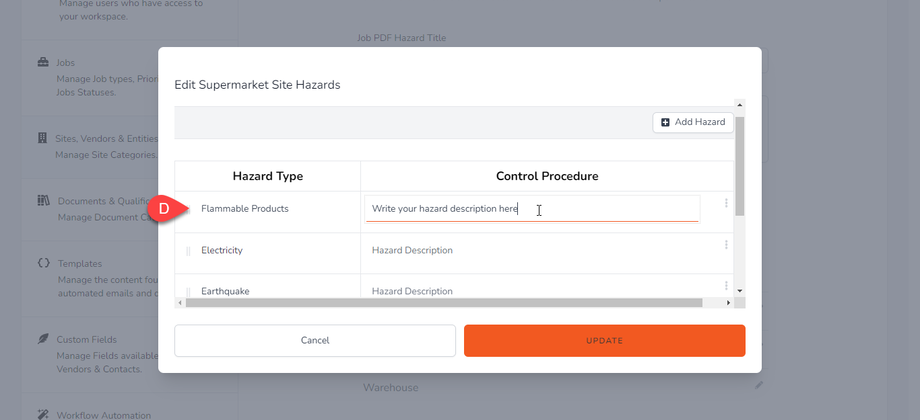
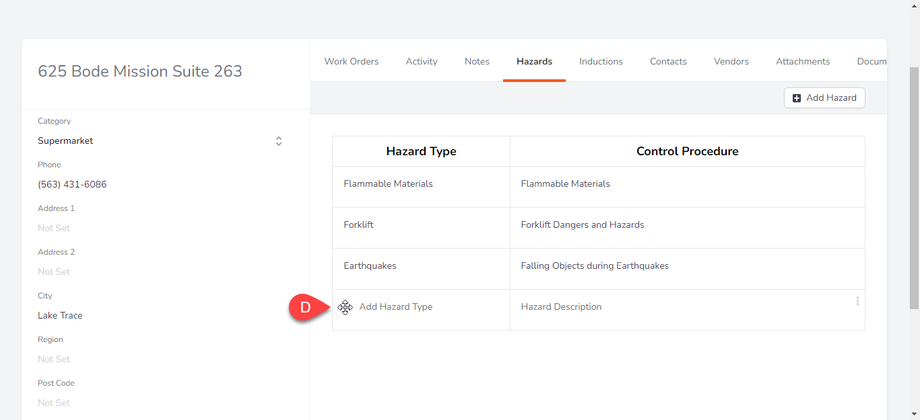
Type (d) your descriptions and hazards in the designated text fields.
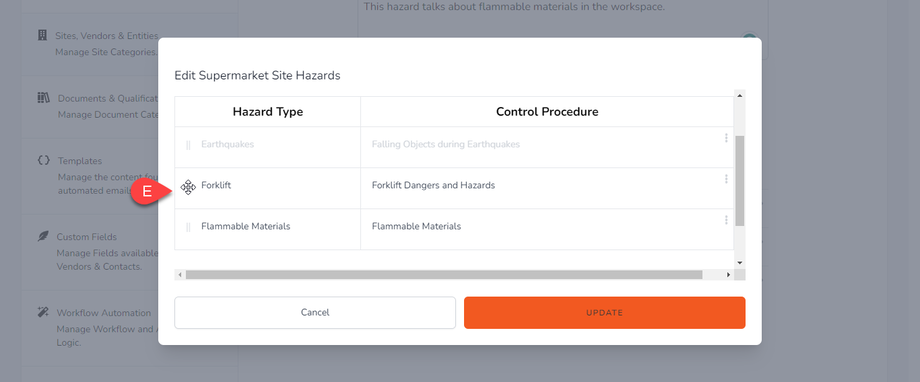
You can then (e) arrange the hazard list according to your preference by hovering your cursor on the parallel bars beside the hazard type. A cross cursor will appear, indicating that you can move that particular hazard up or down the list.
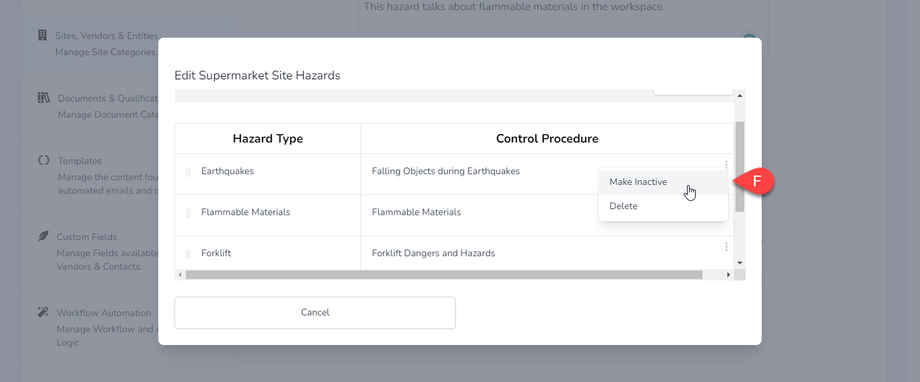
You can also(f) click the kebab menu on the control procedure's right-most side. A menu will allow you to render a hazard type as “Inactive” or “Delete” that hazard type. When a hazard is “Inactive,” it means it will not show or be published in a work order.
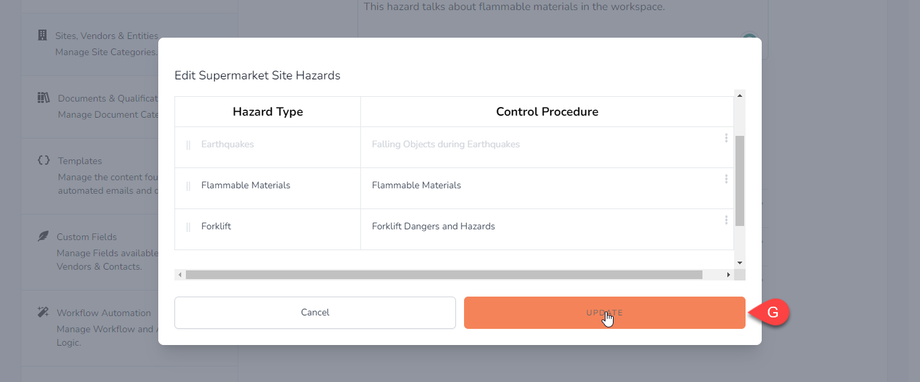
Once all is set, click (g) the “Update” button to save your changes.
Adding Hazards on the Site Page
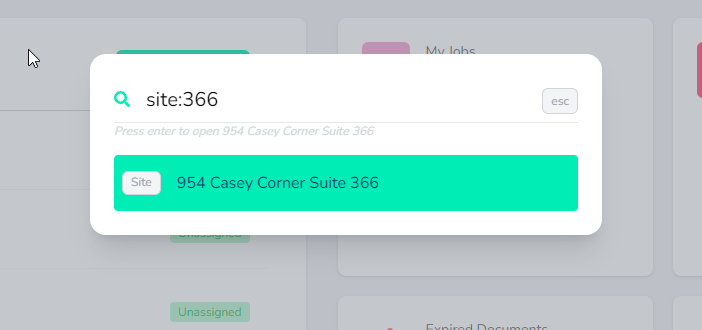
Alternatively, you can manually add a hazard to a particular site. You can use the Global Search function to look for a specific site and move to that site’s section. This is relevant when you only want to attach a particular hazard to that site.
If you wish to add additional settings from your globally added settings, then you can add them directly to each site. 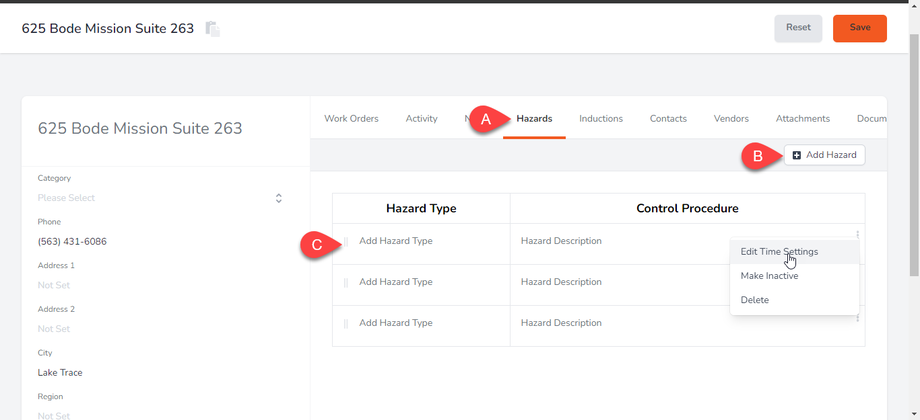
Once on the site page, click (a) the Hazard Tab beside the Notes Tab. Similar to the hazard tab on the Site Settings page, you can add new hazard types and add in control procedures. 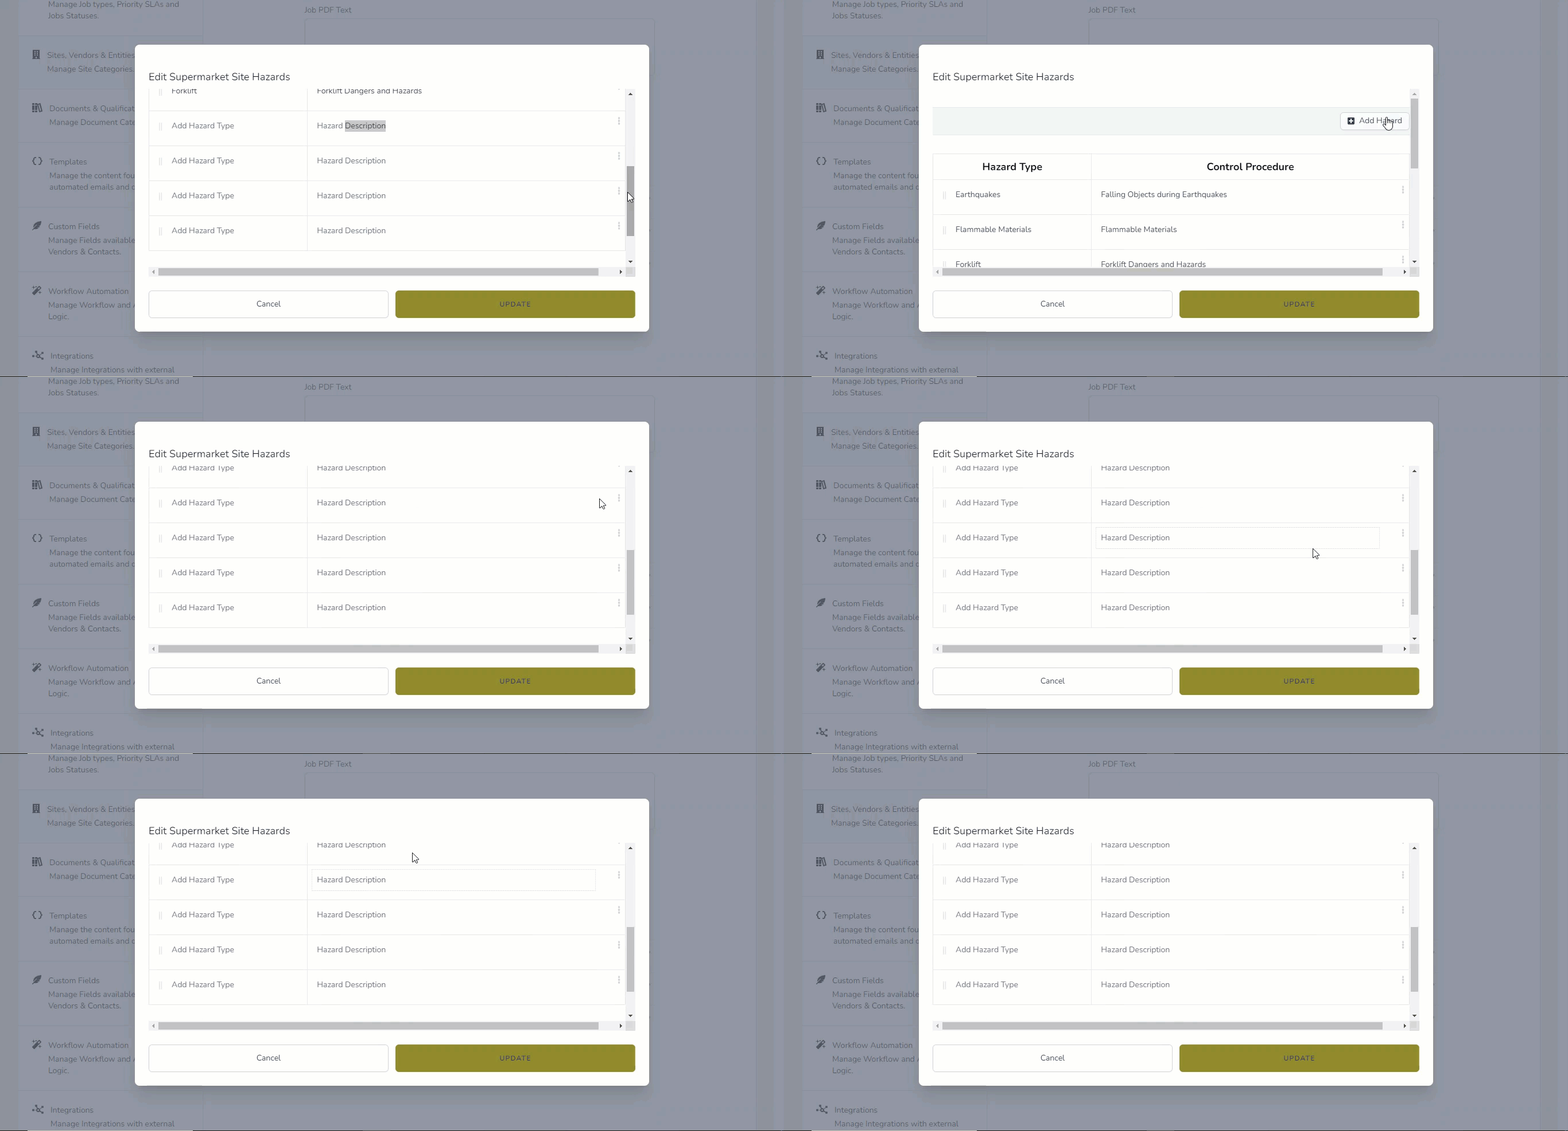
Click the (b) “Add Hazard” button and the system automatically adds new rows. It will also automatically scroll the editor to the bottom of the table for quick and easy editing. You can (c) edit the text fields to add the Hazard Type and provide Descriptions for the Hazard.
You can also (d) rearrange the order of the hazards by moving your cursor on the parallel bars on the left side and drag-and-drop to change the order.
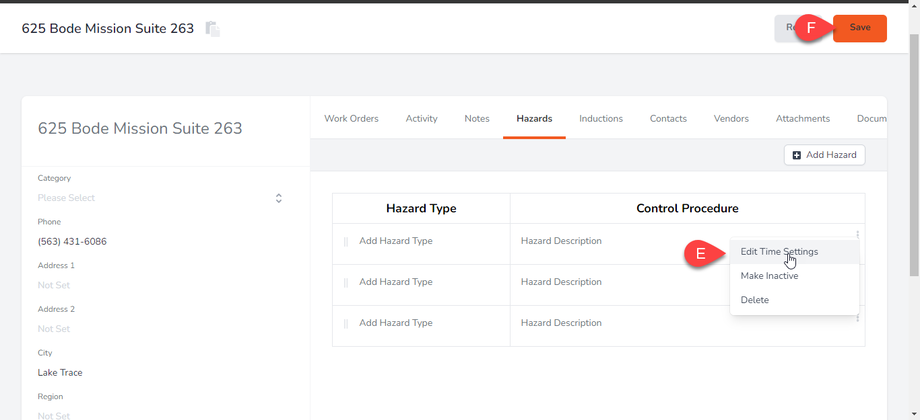
On the right-most side of the list is a kebab menu. Click it (e) to reveal three options: Edit Time Settings, Make Inactive, and Delete.
Clicking “Edit Time Settings” will allow you to indicate the validity of that particular hazard. This primarily applies to seasonal hazards, such as during the cold season or when a specific site is undergoing construction or renovation. Click "Update" to save your settings.
Clicking the “Make Inactive” button will render that hazard inactive and not show in work orders. Click the “Make Active” button again to render the hazard active. For hazard types that are inapplicable for that site, you may click the "Delete" button.
Once done, click the (f) “Save” button in the upper right corner.
Auditing and Tracing Hazards
It is essential to note that Hazard postings are traceable and auditable when sent as a work order via email. This is to ensure that in the event of accidents and if an entity asks for receipts of whether the company posted a hazard type, you have something to show for it.
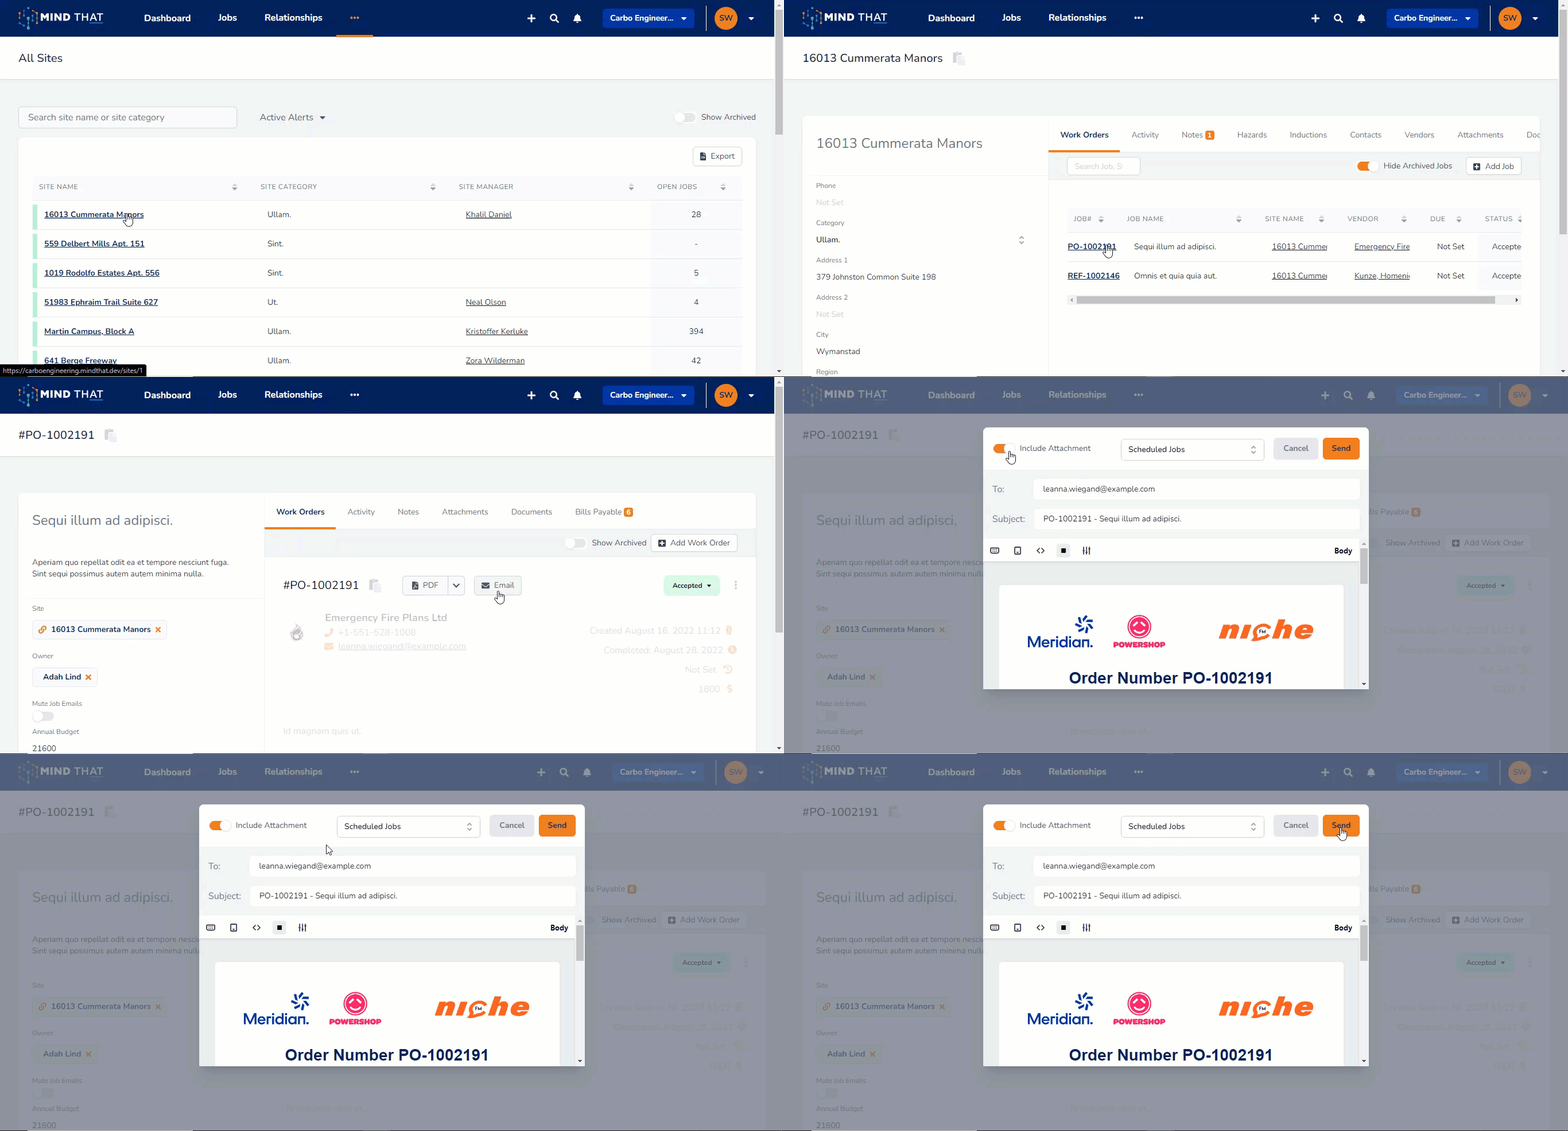
To do this, click on a job order and click the "Email" button. Toggle on the "Include Attachment" button, and this will allow you to attach the files pertaining to hazard/s. Once that is sent out, it will appear on the Jobs' Activity Log. If you sent and posted the hazard, it would show on the Activity Tab that you sent an email, and the file would be automatically attached. Auditing and tracing hazards will avoid any liabilities or legal consequences on your part.


